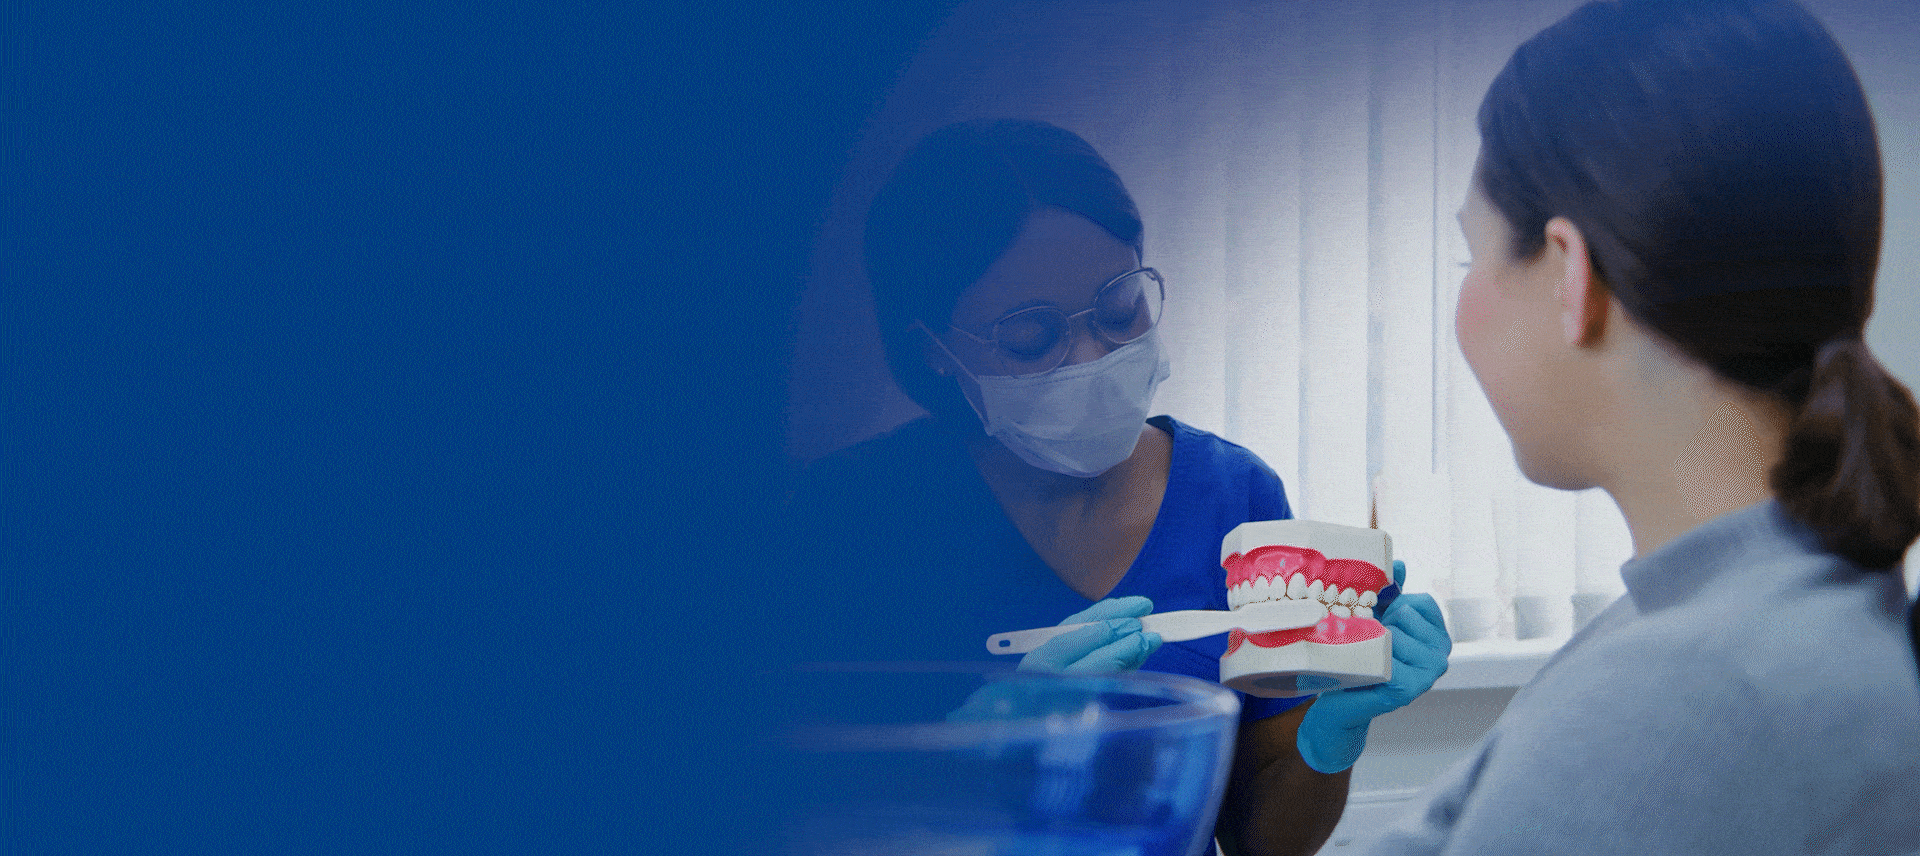
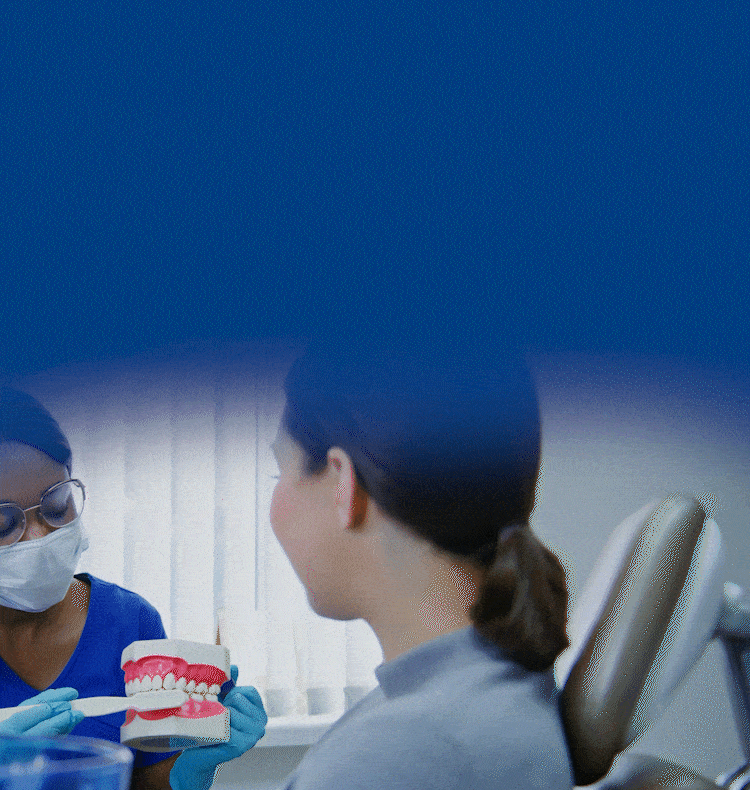
The indirect fabrication of provisional restorations has several advantages over the direct technique. The main advantage is the patient does not have to keep their mouth open during the fabrication of the provisional. In addition, if acrylic material is used in fabrication, injurious effects of applying acrylic monomer to the tooth are eliminated, the patient is not subjected to the unpleasant odor and taste of the acrylic resin materials, and the resin is allowed to completely cure under pressure on a cast of the prepared teeth. This results in a well-fitting, nonporous provisional restoration. The indirect technique is the most effective technique to fabricate a large multiple unit provisional.
Table 14. Steps in Indirect Techniques
| 1. | When the tooth preparation is complete, take an accurate alginate impression of the prepared teeth. |
| 2. | Examine the impression for any imperfections and pour. |
| 3. | Separate model and trim to buccal fold. Examine for any defects that might prevent the template from seating properly on the model. The matrix must fit the cast accurately, as any discrepancies can significantly alter the positional relationship of resulting provisional restoration (hyper occlusion or thin axial contours, for example), which may require additional application of the material used. |
| 4. | Make matrix (Table 12). |
| 5. | Construct a core when you are making a full arch. Placement of the core allows for a more positive seat on the model and will hold the template secure against the model. The core is a mixture of stone and slurry water mixed to a doughy consistency. Place this mixture on top of the template on the original model. Leave some height of the stone above the teeth so you have a handle for easy removal. The core should cover approximately 3/4 of the occlusal surface. This will prevent the core from locking on the model. |
| 6. | After the core is set, you can remove it from the template. |
| 7. | Then remove the template from the original model. |
| 8. | Try matrix on the preparation model. Be careful not to break any teeth off the model! If any teeth break off, you must take a new impression, which is very time-consuming! The matrix must fit exactly on the model. If it does not fit properly, look for poured bubbles and remove them, check to see if matrix is infringing on frenum, is too long in the buccal fold area, or to see if an imperfection in the alginate is preventing it from seating properly. |
| 9. | Liberally coat the model with a suitable separating medium and blow dry briefly with air. |
| 10. | Before mixing materials, make sure you have chosen an appropriate shade for the provisional. |
| 11. | Dispense desired material into the matrix and vibrate into the template. Fill only the areas for which you will be making a provisional. |
| 12. | Place the prepared model into the matrix, making sure you line the matrix up with the appropriate teeth. Do not push the matrix into place. Use your core to insure firm and even pressure of the template onto the model. |
| 13. | Next, gently secure the model, matrix and core with a rubber band, taking care that the template is not distorted nor its orientation on the model altered (Figure 10). |
| 14. | Once the material has set for approximately 5 minutes, you can remove the rubber band and separate core. |
| 15. | Trim excess acrylic off with lab knife and remove plastic matrix. Note: the palate or lingual should be paper thin and easily removed. If they are not, you have not seated the matrix completely or properly. |
| 16. | Remove the cured provisional restoration from the model. Save your model to use for further trimming. |
| 17. | Remove the excess acrylic resin and make sure the restoration is properly contoured, starting with your margins, as always (Figure 11). |
| | | |
| Figure 10. | | Figure 11. |
 | |  |
Hints
Use separating mediums to prevent the provisional material from sticking to the tooth or model. In most cases, a tooth moist with saliva will not allow the acrylic to adhere. It is a good idea to use the air/water syringe and, using the air, blow the excess separating medium off the tooth.
When taking an alginate, apply a small amount of impression material to the critical areas before placing the tray. Make sure the teeth remain moist. If the teeth are too dry, the alginate will remain on the preparation and the impression will not be accurate. It is important to obtain an accurate impression so that the secondary retentive features, such as grooves, box forms and the gingival third of the perforations are accurately reproduced.
Slurry water: To facilitate the setting time of the stone, slurry water can be used. You can sometimes obtain slurry water from the water residue of your model trimmer. Some model trimmers are set up in such a way that it is impossible to obtain slurry water. In such cases, you can make a solution of slurry water. You can use a plastic jug to save such water so it is on hand when needed. Always shake the bottle of slurry water before adding the water to stone. From start to finish, the setting time should be about 5 minutes. Work fast when using slurry water or the stone will start to set.
Take care to avoid incorporating air bubbles into the acrylic, as air bubbles can cause voids in the restoration. When you use vacuum formed acetate templates, you should not see air bubbles. You can eliminate air bubbles by penetrating the template with a sharp instrument, such as an explorer.
To ensure proper alignment of your core, you may need to make index marks using a permanent marker (Figure 10).