

Digital Dentures
Course Number: 662
Course Contents
3-Step Protocol for Digital Denture Fabrication
❒ During the first appointment, the master impressions are made using the patient’s existing denture; or thermoplastic, heat moldable stock impression trays (Figure 14).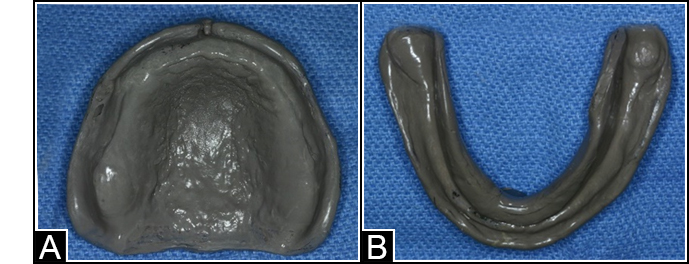 Figure 14. (A) Maxillary and (B) Mandibular master impressions.
❒ The lip ruler is used to measure the length of the upper and lower lip in repose, and full smile (Figure 15). The length of the lip at rest guides in positioning the incisal edges of the central incisors (depending on the desired incisal display at rest). The upper lip length in full smile (high smile line) aids in determining the cervical position of the maxillary central incisors. Both these measurements guide in selecting the optimal length of the central incisors.35 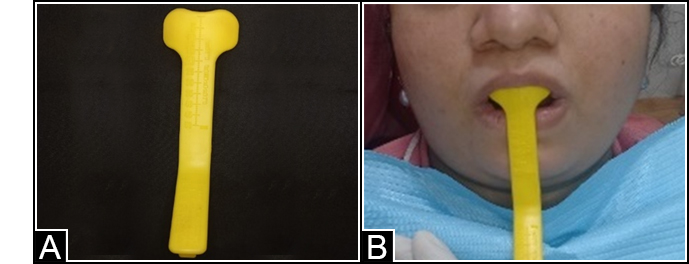 Figure 15. (A) Lip ruler (B) Lip ruler used to measure the length of the lip in repose
❒ The mold of the prosthetic teeth (small, medium, or large) is selected using the interalar form selector (Figure 16).35 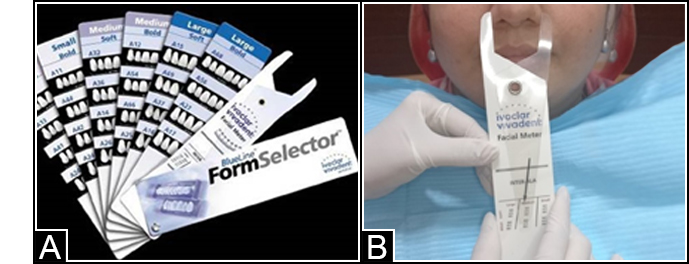 Figure 16. (A) Interalar form selector (B) Interalar form selector used for selecting the mold
of the prosthetic teeth. ❒ The master impressions and the records are sent to the laboratory to be digitized using the extraoral scanners. Trial denture bases with wax occlusal rims are fabricated on the master casts. The lip ruler measurements are used to determine the inciso-cervical position of the central incisors, which are then used to optimally position the lateral incisors and the canines. Anatomical averages are used for determining the midline and the position of the maxillary anterior teeth labio-lingually; The facial surfaces of the maxillary central incisors are positioned 12 millimeters anterior to the posterior border of the incisive papilla (Figure 17);35,36 The canine cusp tips are positioned along the line that passes through the center of the incisive papilla.35,36 Once the maxillary anterior teeth are set manually on the maxillary wax occlusal rim, the mandibular anterior teeth are set over the crest of the ridge. The horizontal and vertical overlap between the maxillary and the mandibular teeth will be assessed during the try-in appointment (the horizontal overlap is usually set at 1mm; however, the vertical overlap will vary depending on the occlusal scheme selected for the patient.) The occlusal plane is estimated based on the position of the hamular notches, the retromolar pads, and the incisal edges of the maxillary and mandibular incisors, and a prototype is fabricated for the try-in appointment (Figure 18). 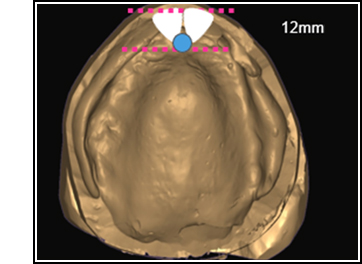 Figure 17. The facial surfaces of the maxillary central incisors are positioned 12 millimeters
anterior to the posterior border of the incisive papilla. |
❒ During the second appointment, the esthetics and phonetics are evaluated with the try-in prostheses (Figures 18 & 19), and adjustments are made as required.35 Having the anterior teeth set in the wax rim for this appointment helps save clinical time and helps in getting the patient’s feedback regarding the shade, shape, and position of the anterior prosthetic teeth during this appointment.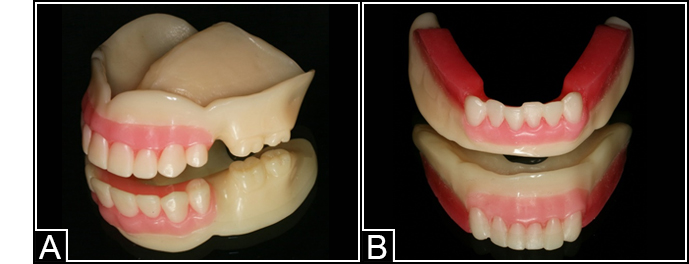 Figure 18. Avadent- Wagner try-in prostheses
Image courtesy Dr. Goodacre 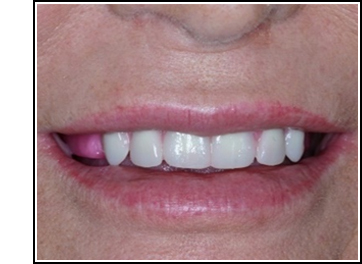 Figure 19. Try-in prostheses evaluated in the patient’s mouth.
❒ The OVD is established, and the CR record is registered at the established OVD as per the current prosthodontic principles (Figure 20). 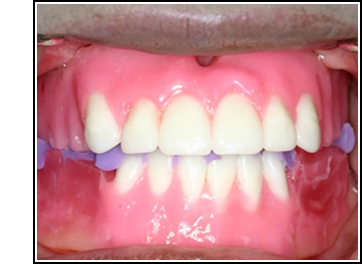 Figure 20. Interocclusal records registered with the try-in prostheses.
❒ The records are sent to the laboratory to be digitized using the extraoral scanners. The mandibular posterior teeth are set virtually on a line extending from the tip of the mandibular canine to the retromolar pads (Figure 21). Next, the maxillary posterior teeth are set virtually against the mandibular teeth to ensure optimal occlusion and optimal overlap between the maxillary and mandibular teeth. The CAD files are sent to the CAM facility for digital denture fabrication. 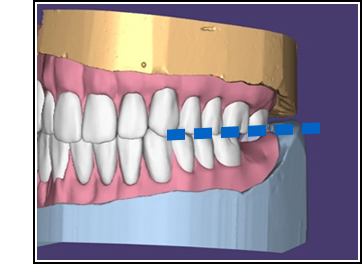 Figure 21. The mandibular posterior teeth are set virtually on a line
extending from the tip of the mandibular canine to the retromolar pads. |
❒ During the third appointment, the digital dentures are clinically adjusted, finished, polished, and placed in the oral cavity as per the conventional prosthodontic procedures (Figure 22). However, the process is much faster with digital dentures as the teeth movement during processing is minimal and the fit of the prostheses is superior.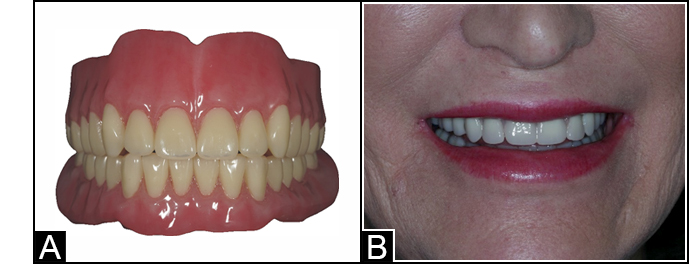 Figure 22. Digital dentures (A), placed in the oral cavity (B).
 |
0/16Next